How to Paint a Pet Portrait in Gouache
April 29, 2026
Posted by marko
There is something quietly magical about painting your pet. The tilt of a head, the amber glow of an eye, the way fur catches afternoon light — these are the details a photograph captures but rarely feels. Gouache, with its chalky opacity and luminous matte finish, is one of the most joyful mediums for rendering a beloved animal. It corrects easily, dries fast, and rewards bold colour decisions. This guide will walk you through the entire process, from choosing your reference photo to adding the final whisker.
Why gouache for pet portraits?
Unlike watercolour, gouache is opaque — you can paint light tones over dark ones, which means mistakes are never final. Unlike oil paint, it dries in minutes and needs no solvents. It sits beautifully on watercolour paper and has a velvety, almost tactile quality that suits animal fur and feathers exceptionally well. If you have tried watercolour and found it frustratingly unforgiving, gouache is likely to feel like a revelation.
What you will need
Choosing your reference photo
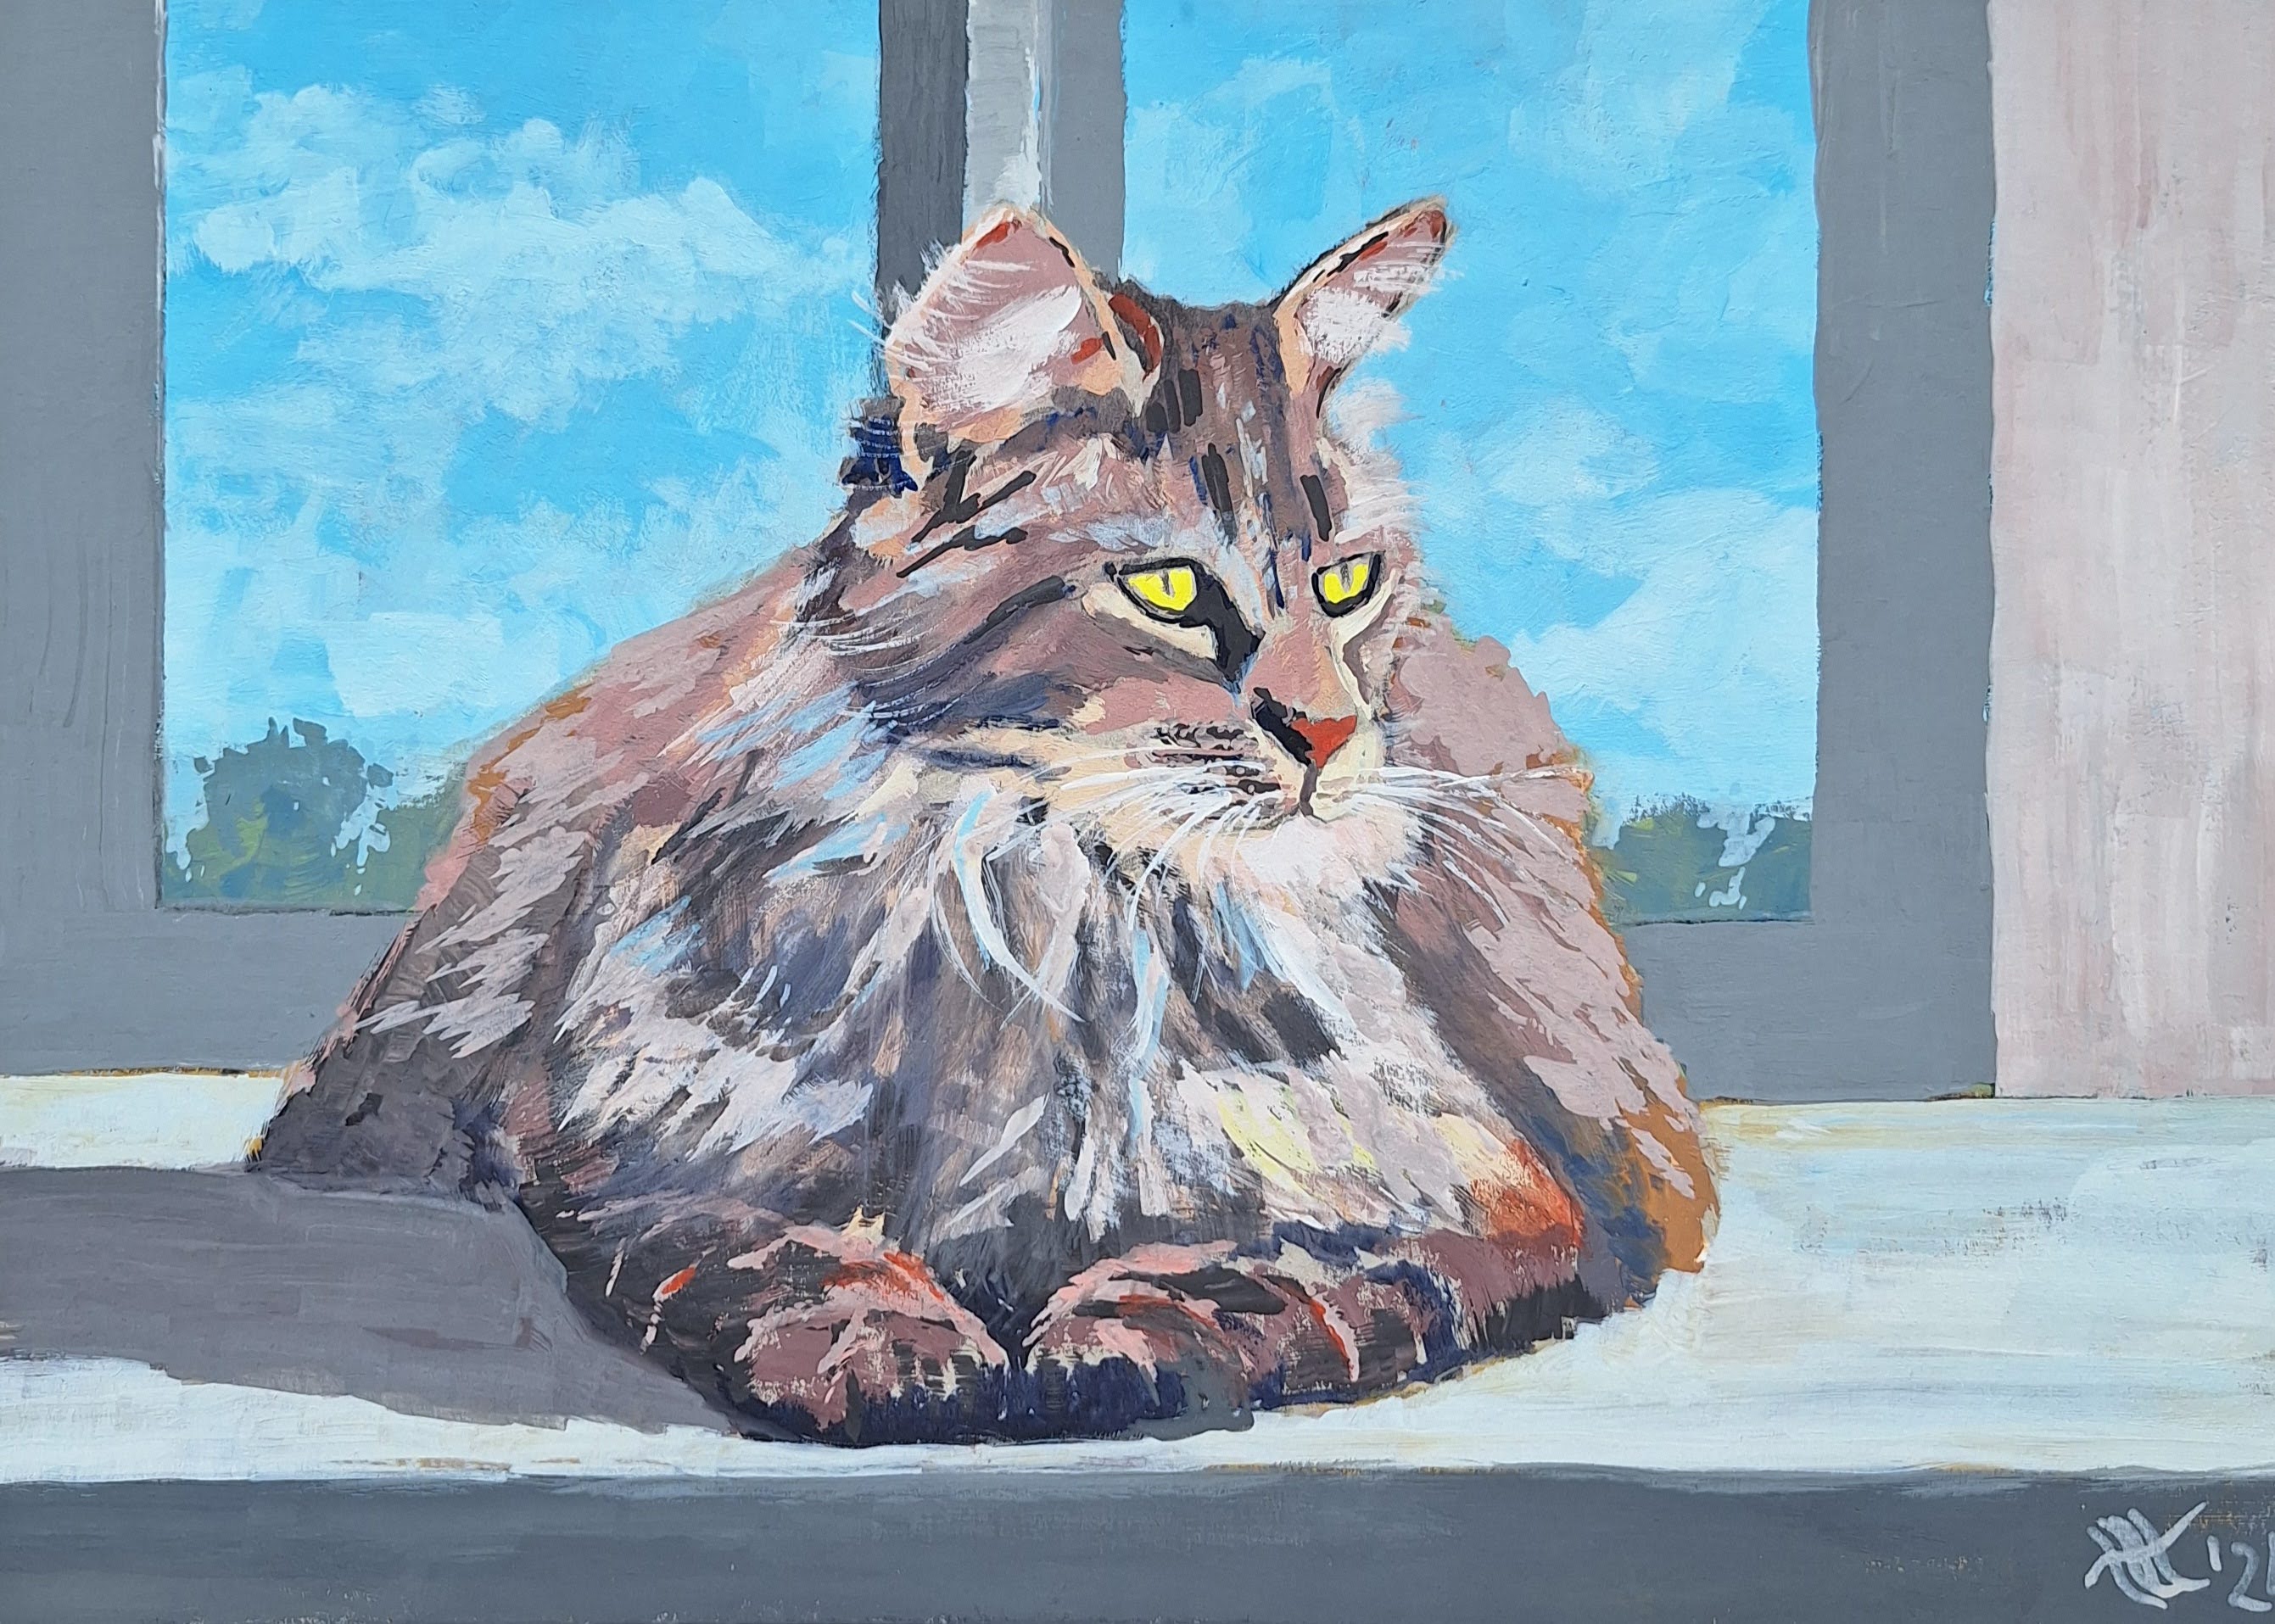
The single most important decision you make before picking up a brush is your reference image. Look for natural, directional light — window light is ideal — that creates clear shadows and makes the eyes glimmer. Avoid heavily filtered or overly bright photos. The eyes are the soul of a pet portrait, so choose a photo where they are sharp and expressive. A slight three-quarter angle (not full frontal, not full profile) tends to give your painting life and dimension.
Step-by-step process
-
1Sketch lightly. Use a 2H pencil to map out the basic shapes — head as an oval, placement of eyes, nose, and ears. Keep lines gentle; heavy graphite can muddy light gouache layers later. Think of it as marking territory, not drawing a finished piece.
-
2Block in the background first. Many beginners leave the background for last and then struggle to paint around fine fur edges. Instead, lay in a flat or loosely textured background colour (even a neutral warm grey works wonderfully), then work your pet over the top. This also helps you judge your animal's tones against a real context from the start.
-
3Lay the base coat of fur. Mix the dominant mid-tone of your pet's coat — not the darkest shadow, not the brightest highlight. Apply this over the whole body shape with a flat or medium round brush. This is your foundation layer, and it does not need to be perfect. In gouache, you are building, not revealing.
-
4Build shadows with layering. Once the base is dry (5–10 minutes), mix a slightly cooler, darker version of your base tone and apply it to the shadowed areas — under the chin, inside the ears, beneath the body. Use a fairly dry brush and work in the direction the fur grows. Gouache shadows should feel like depth, not smudging.
-
5Paint the eyes with care and patience. Start with the darkest part of the pupil. Then add the iris colour, leaving a small unlit rim around the pupil. Add warmth where the light passes through, then finish with a single crisp white highlight placed slightly off-centre. The highlight is what brings the eyes to life — do not rush it.
-
6Add highlights and fur texture. Mix a warm white (white + tiny drop of yellow ochre) and use a liner brush or dry-brush technique to flick individual fur strands catching the light. Work from the darker areas outward. Less is more here — suggest texture rather than painting every hair. This is where the painting begins to breathe.
-
7Refine edges and add final details. Whiskers, eyebrow tufts, claw lines — add these last with a no. 1 liner brush loaded with opaque white or a colour slightly lighter than the fur beneath. Step back frequently and squint at your painting; fine details often look better from a distance than they do up close.
Colour mixing for different coats
Golden retrievers glow with raw sienna, yellow ochre, and touches of cadmium orange in the highlights. Black cats are rarely painted with pure black — mix ultramarine blue with burnt umber for a richer shadow, and use cool greys and warm whites for their highlights. Tabby cats call for layered warm and cool browns with careful dry-brushing for stripes. For white animals, the background colour does most of the work; the "white" of a bunny is mostly reflected light in blues, warm greys, and lavenders.
Finishing and protecting your work
Gouache remains water-soluble even when dry, so handle finished pieces with care. To protect your portrait, you can apply a light mist of fixative or varnish from about 30 cm away once the painting is fully dry (allow 24 hours to be safe). If you plan to frame it, a glass or acrylic glazing layer offers the best long-term protection. Many artists simply keep gouache portraits behind glass without varnishing at all.
Pet portraits in gouache make extraordinary gifts. They take anywhere from two hours to a full weekend depending on detail and size — but every session spent painting a beloved animal is a small act of attention and love.
0 people likes this post